
Connecting a LED-strip
Placing and connecting an LED strip is relatively easy. Nevertheless, there is still some uncertainty about how best to install and install LED strips. The following components are generally required to connect a LED strip:
- The LED strip at the correct length
- Optional a controller or remote control. This depends on the LED strip. A remote control is required for an RGB LED strip or an RGBW.
- A power adapter with the correct power and power.
Connecting an LED strip is explained in the steps below:
Step 1: Make sure the surface is clean, remove grease and dust.
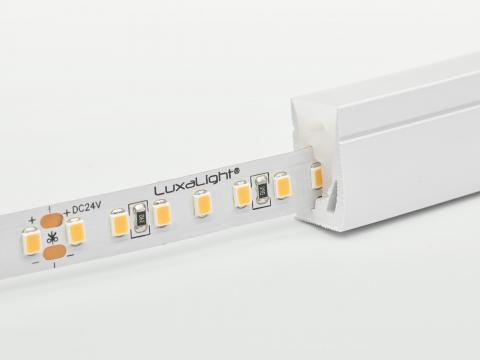
Step 2: Remove the protective layer from the adhesive strip and place the LED strip in the desired place. Press the LED strip firmly.
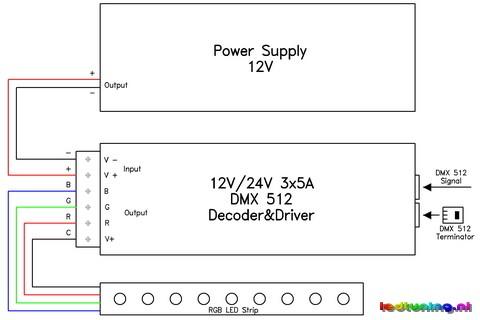
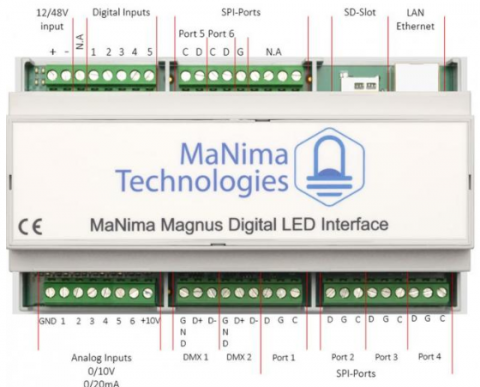
Step 3: Connect the LED strip to the controller using the connector on the end. An RGB LED strip must be connected to an RGB controller. Note: for monochrome and white LED strips, + and - must match on both sides. For RGB strips, the +, R, G, and B terminals must match on both sides.
Step 4: Then connect the power supply or power adapter to the controller and then to the mains voltage. Also note here: the + and -. If the + and - are connected incorrectly, the LED strip will not light up. The LED strip is now ready for use.
Connecting a waterproof LED strip?
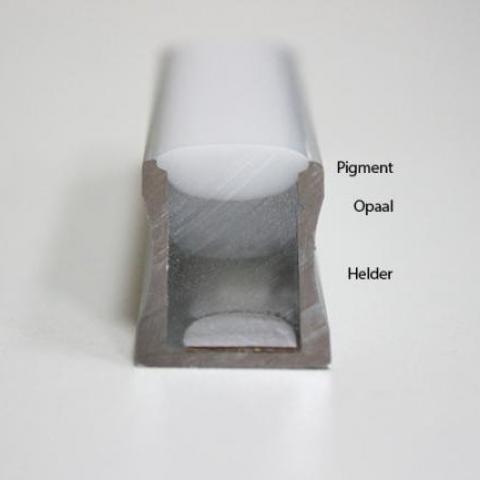
There are a number of things to keep in mind when connecting and connecting the waterproof LED strips. If you connect the strip outside, you also need a waterproof (IP67) power supply.
Do you want to cut the waterproof strip? Keep in mind that the silicone layer that makes the strip waterproof no longer works. It is possible to make it waterproof again. Also note that an RGB controller or a dimmer is almost never waterproof and must therefore be hidden.
[video:https://www.youtube.com/watch?v=Fib-OdJxPIQ]